
Create stunning demos for free. Open-source, no subscriptions, no watermarks, and free for commercial use. An alternative to Screen Studio.
Copy the command below to clone the repository to your machine.
[!Note]
OpenScreen is now archived and no longer maintained. For continued maintenance and development, a community-driven spin-off led by one of the core contributors is available here: https://github.com/EtienneLescot/openscreen
[!WARNING]
This started as a side project that blew up; not production grade and you'll hit bugs, but hopefully it covers what you need. This project will soon be archived.

OpenScreen
OpenScreen is your free, open-source alternative to Screen Studio.
If you don't want to pay $29/month for Screen Studio but want a version that does what most people seem to need - quick, polished product demos and walkthroughs you'd post on X, Reddit or Youtube. OpenScreen does not offer every Screen Studio feature, but covers a lot of the core functionality.
Screen Studio is an awesome product and this is definitely not a 1:1 clone. If you just want something fully free and open source, this project should cover most of your needs.
100% free for both personal and commercial use. Use it, modify it, distribute it. Please respect the License.
[!NOTE]
Software should be accessible. OpenScreen has no paid tiers, premium features, upsells, or functionality locked behind a paywall.

Download the latest installer for your platform from the GitHub Releases page.
The easiest way to install on macOS is via Homebrew:
brew install --cask siddharthvaddem/openscreen/openscreen
Brew automatically picks the right build for Apple Silicon or Intel, and verifies the download against a notarized signature so Gatekeeper won't block it.
To update later: brew upgrade --cask openscreen
To uninstall: brew uninstall --cask openscreen (add --zap to also remove app data)
If you'd rather grab the .dmg directly from the Releases page and encounter Gatekeeper blocking the app, you can bypass it by running the following command in your terminal after installation:
xattr -rd com.apple.quarantine /Applications/Openscreen.app
Note: Give your terminal Full Disk Access in System Settings > Privacy & Security to grant you access and then run the above command.
After running this command, proceed to System Preferences > Security & Privacy to grant the necessary permissions for "screen recording" and "accessibility". Once permissions are granted, you can launch the app.
[!NOTE]
Upgrading from an older version and hitting permission issues? If you already had OpenScreen installed and the new version won't record (Screen Recording or Accessibility keep failing even after you grant them), uninstall the old version, remove OpenScreen's existing entries under System Settings > Privacy & Security (both Screen Recording and Accessibility), then do a fresh install and grant the permissions again when prompted.
Install via winget:
winget install SiddharthVaddem.OpenScreen
To update later: winget upgrade SiddharthVaddem.OpenScreen
To uninstall: winget uninstall SiddharthVaddem.OpenScreen
If you'd rather grab the .exe installer directly, download it from the Releases page.
Three packages are published to the Releases page for each version. Pick the one that matches your distro:
Debian / Ubuntu / Pop!_OS (.deb)
sudo apt install ./Openscreen-Linux-latest.deb
Arch / Manjaro (.pacman)
sudo pacman -U Openscreen-Linux-latest.pacman
Any distro (.AppImage)
chmod +x Openscreen-Linux-*.AppImage
./Openscreen-Linux-*.AppImage
NixOS / Nix (flake)
Try without installing:
nix run github:siddharthvaddem/openscreen
Install into your user profile:
nix profile install github:siddharthvaddem/openscreen
For a NixOS system config (flake):
{
  inputs.openscreen.url = "github:siddharthvaddem/openscreen";

  outputs = { nixpkgs, openscreen, ... }: {
    nixosConfigurations.<host> = nixpkgs.lib.nixosSystem {
      modules = [
        openscreen.nixosModules.default
        { programs.openscreen.enable = true; }
      ];
    };
  };
}
For Home Manager, use openscreen.homeManagerModules.default with the same programs.openscreen.enable = true;.
You may need to grant screen recording permissions depending on your desktop environment.
Sandbox error: If the AppImage fails to launch with a "sandbox" error, run it with --no-sandbox:
./Openscreen-Linux-*.AppImage --no-sandbox
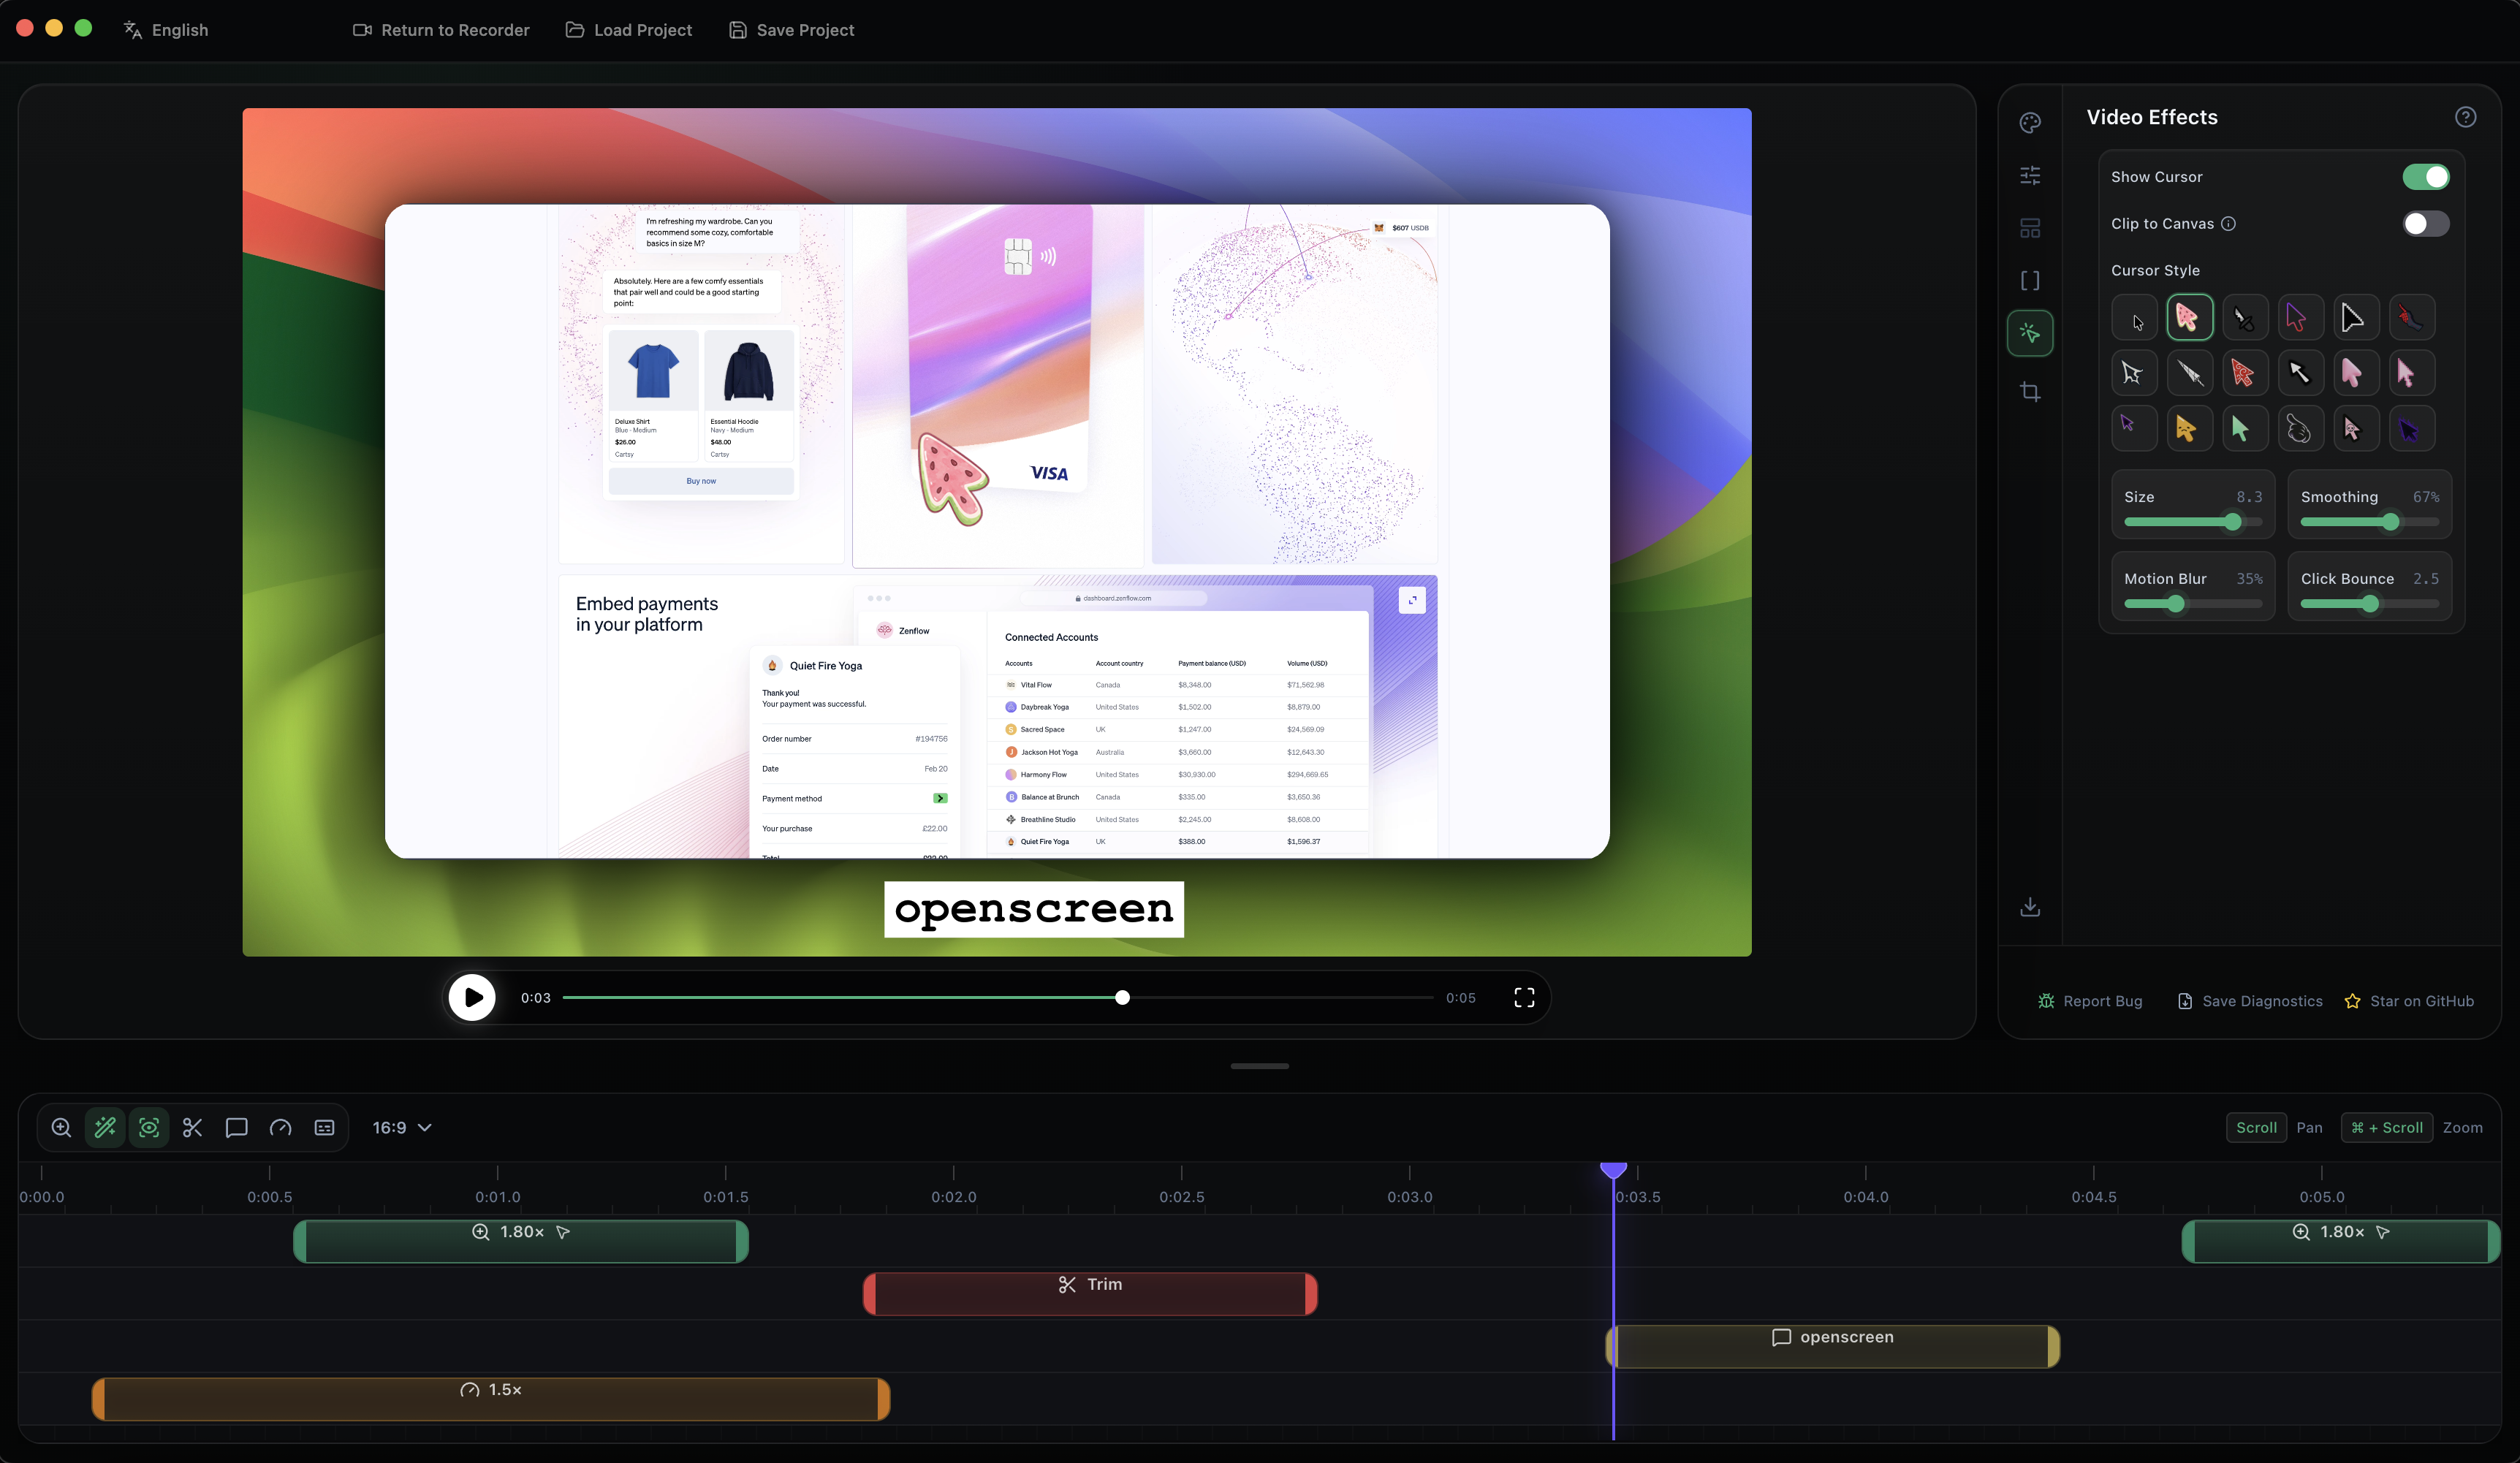
Everything in the editor and export is the same on macOS, Windows, and Linux: zooms, backgrounds, motion blur, crop/trim/speed, blur regions, annotations, auto-captions, projects, export, and all languages. The differences are in capture, where macOS and Windows use a native pipeline that Linux doesn't have:
This project is licensed under the MIT License. By using this software, you agree that the authors are not liable for any issues, damages, or claims arising from its use.